Editing Content
- How-to Guide
- Logging On
- Your Dashboard
- Scheduling a Group Event
- Scheduling a 1-2-1 Event
- Editing an Existing Event
- Hosting a Group Chat Event
- Hosting a 1-2-1 Chat Event
- Sharing Media in an Event
- Live Streaming with OBS
- Data and Content After the Event
- Editing Content
- Media
- Custom Email Templates
- Managing Users
- Network Connectivity
Editing Content
To edit the content of the landing page and to include tailored wording for participants at different stages of the registration, joining and event process, navigate to the ‘Edit Content’ page.
Content is organised into different logical parts, grouping related items together. They are described briefly in the shown table.
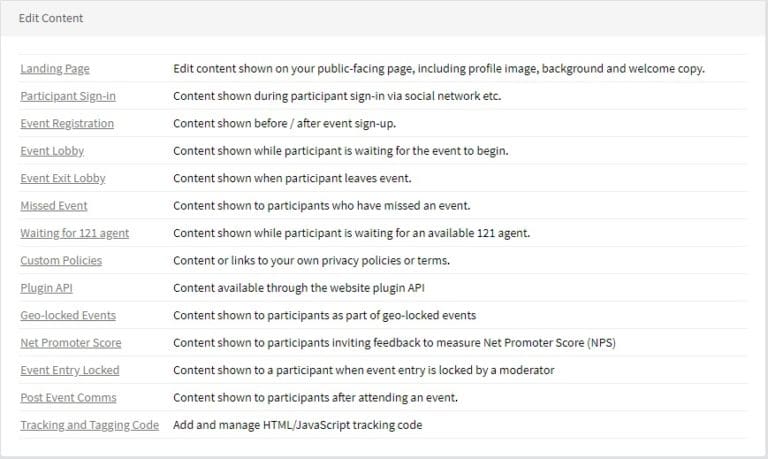
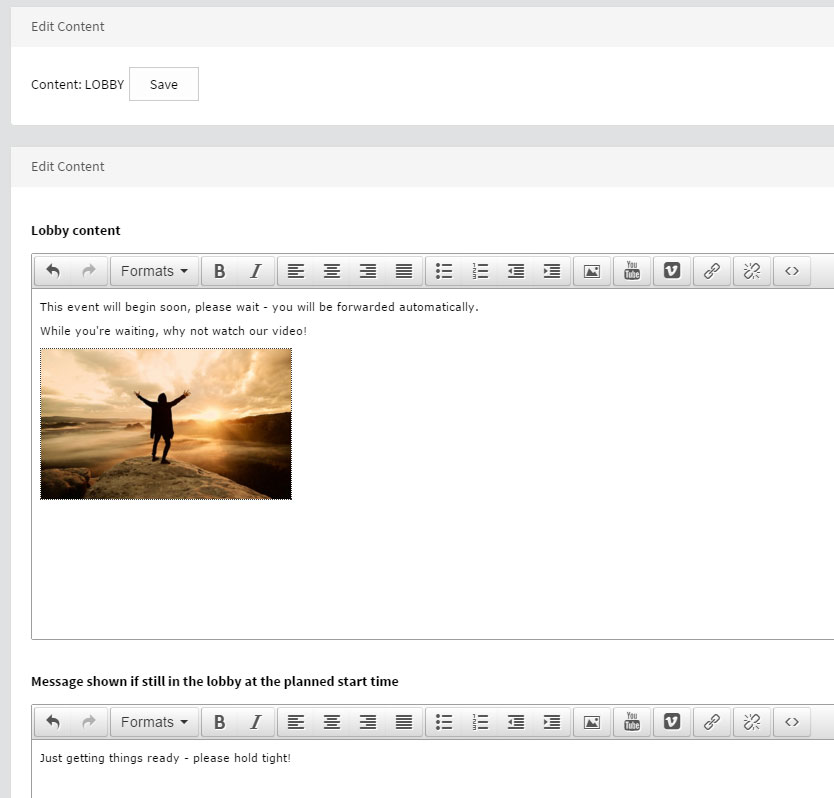
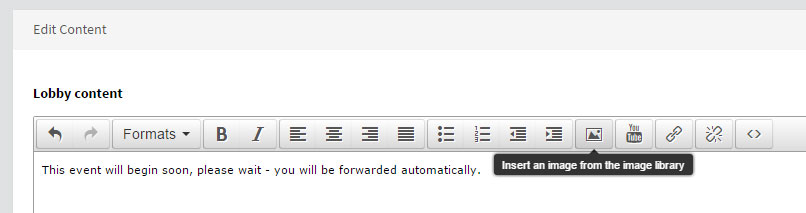
To edit a particular area, such as the event Lobby (shown to participants while they wait for the chat event to begin), click on ‘Event Lobby’ from the table.
In the screenshot below you will notice two separate areas that can be edited – the lobby itself, as well as the message shown if still in the lobby when the event is scheduled to begin. Both can be edited separately. Click on the area you would like to edit, and customise the wording as you wish.
In the following example, on the Event Registration page it is possible to tailor the wording a participant sees if they attempt to register for a full event:
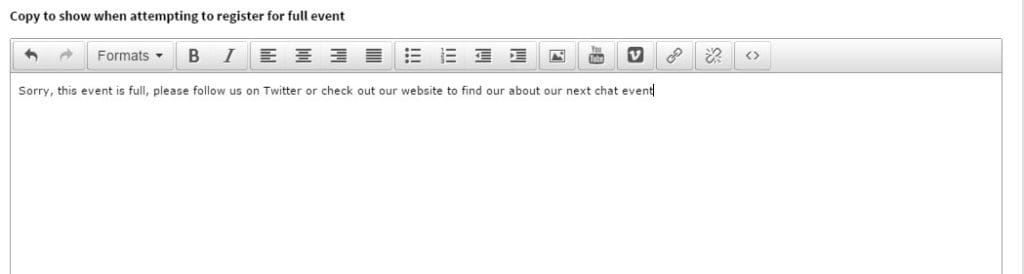
Videos and images can be included as well.
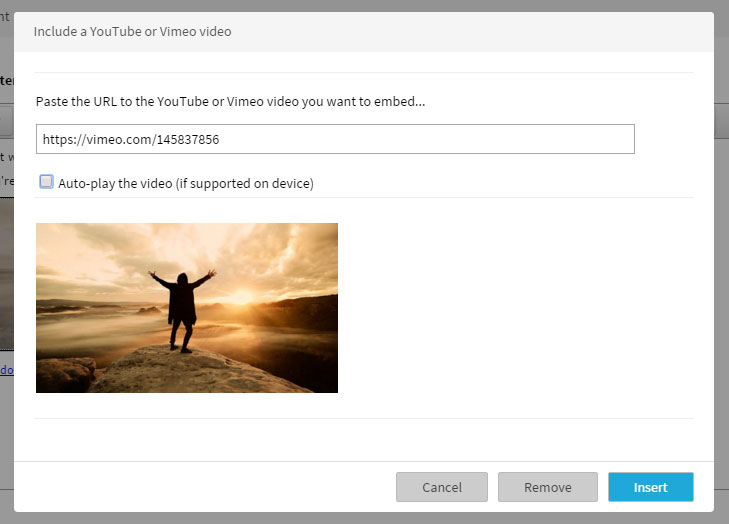
To add a video, position the caret where you want it to be inserted and click on the YouTube or Vimeo icon, corresponding with where it is hosted.
Paste the URL of the video into the box. Unlisted videos are fine – but they can’t be marked as ‘private’ or they won’t load. The thumbnail should appear beneath. Choose whether to have the video begin playing automatically when the content area loads (i.e. when the user is sent to the Lobby) by ticking the box. Click ‘insert’. to insert the video at the cursor. A small, unplayable version of the video will appear in the editor as a placeholder.
To include an image, position the caret where you want it to be inserted and click on the Image icon.
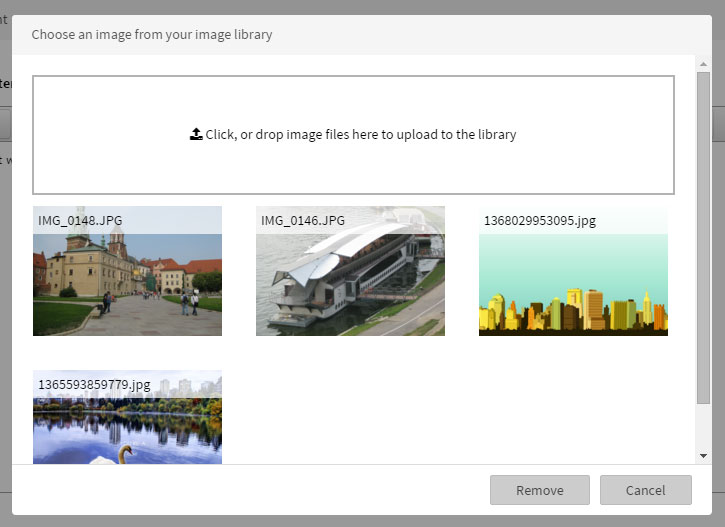
Click on an image to include. You can also drag and drop images from your local machine to upload them, by dropping them onto the marked area.
To edit or remove a video or image, double-click on its icon in the editor – change the item here or click the ‘Remove’ button to remove it from the editor.
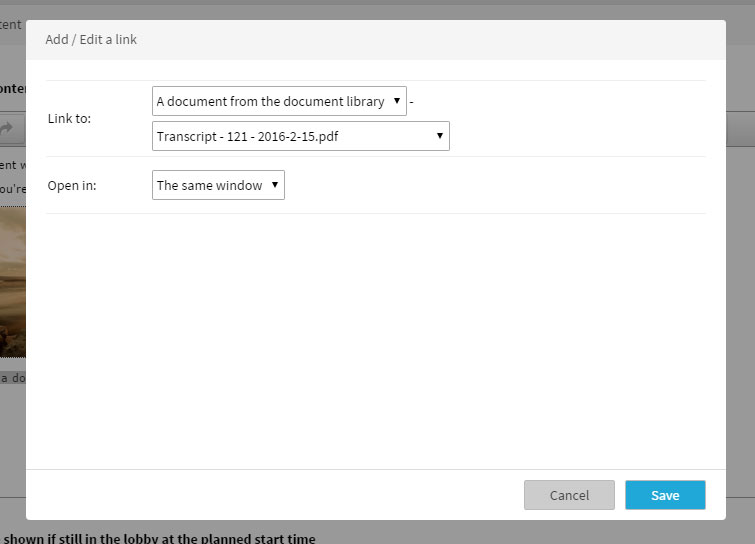
Links can be added to items by selecting a passage of text and clicking on the link icon. You can select which type of resource to link to, including documents from the Media Library.
Remember to click on ‘Save’ at the top of the screen to commit your changes when you’ve finished editing!
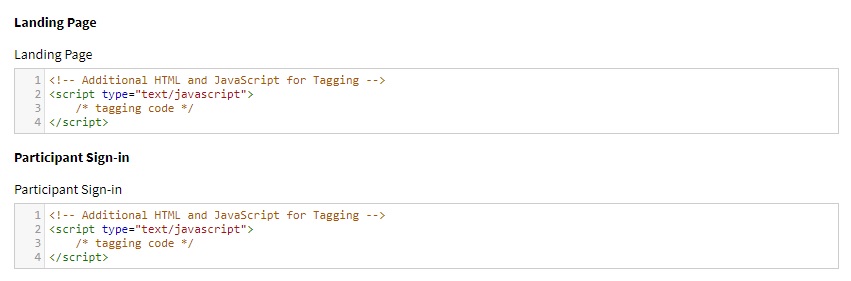
One addition feature available in this section is ‘Tracking and Tagging Code’ this allows your web team to add addition inline HTML/Javascript to parts of the candidates journey.